
Tips for (future) working holiday makers
After nine exciting months in Canada, I find myself back in Europe. I was lucky enough to be able to move back into my old house in leafy West London and after four weeks of hard-core job hunting, I have just started a new job. Of course I feel overwhelmed and a bit lost, as always after a long time away. It’s been a true whirlwind and I have so much to be grateful for – the experiences that I have made and everything that lies ahead – and I am eager to keep seeing the world as a traveller and to blog about it. Every place, whether it’s home or away, has its charm, special character and is worth writing and reading about. London in itself offers enough to justify its own blog, let alone the beautiful English coast and Great Britain overall – plus there are a lot of countries I am planning to visit still. For now though, I thought I’ll share some tips for planning a working holiday in Canada, especially for those who think about doing it or who are just about to start their adventure.
Sorting out a Working Holiday Visa for Canada
There are a number of visas available for foreigners aiming to immigrate to Canada – from employer-specific work permits to permanent residency – however the easiest visa to obtain generally is a working holiday visa. This type of visa is available for citizens of certain countries and up to a certain age range, depending on the applicant’s citizenship. British passport holders aged between 18 and 30 years inclusive are in principle eligible for a working holiday visa which is valid for up to 24 months. Being German, I was eligible to apply for my working holiday visa until just before my 36th birthday however the working holiday visa for Germans is only valid up to 12 months and cannot be extended (sadly). Find out more about eligibility here.
A part of Canada’s International Experience, the working holiday visa is an open permit which means once a working holiday visa has been granted, it allows the visa holder to work for more than one employer and in the location of their choice. Other visas under the Canadian International Experience programme, i.e. the Young Professionals programme or the International Co-op Internship programme, require a job offer respectively an offer for an internship from a Canadian employer.
Canada, in contrast to Australia and New Zealand, issues a limited number of working holiday visas per year. The first step is to create a CIC account and profile. This is free of charge. This profile will be submitted into a pool of candidates and remain there until the candidate is chosen or rejected. When the candidate is chosen, they will receive an invitation to apply for a work permit. Check this schedule to find out when the rounds of invitations for each country will begin and end. At the end of each season, all profiles are removed from the pool. When I applied, I was in the pool for a couple of weeks, then got an invitation to apply for a work permit.
Several supporting documents are required to apply for the work permit, e.g. a police certificate, passport, digital photo etc. For a complete list of those, click here. A fee is payable and proof of payment of the latter will also have to be submitted with the application; currently this fee is 126 CAD (75 GBP / 89 EUR) participation fee for the International Experience and 100 CAD (60 GBP, 70 EUR) for the work permit, both payable upon application for the latter. Once you have received the invitation letter, it will also state by when the application for the work permit will have to be filed. Once the work permit is granted, it will furthermore state by when the work permit has to be activated, i.e. by when the visa holder has to arrive in Canada. If the visa holder arrives later than that date, the visa will no longer be valid. From the date of arrival in Canada, the visa is running. If the visa holder decides to leave Canada during the visa, the time spent outside of Canada will be lost and will not be added to the visa afterwards. I.e. I had a year visa starting in January 2016 to January 2017. Any time spent outside of Canada doesn’t affect or delay the visa’s expiry date.
The work permit will be attached to the visa holder’s passport upon arrival at any Canadian border – provided that you have proof of the appropriate funds necessary to start the working holiday (2500 CAD (around 1500 GBP; 1800 EUR)or more to cover the expenses for a return flight if you haven’t booked the latter yet) and valid health insurance.
Arranging health insurance
Health insurance is required for the entire duration of the stay. A lot of foreign health insurance providers don’t cover trips for longer than three months so be mindful to check this. The health insurance needs to be from the country of residence, consequently I had health insurance from a UK provider called backpackertravelinsurance.com. The insurance rate was relatively low-cost (189 GBP (223 EUR) for 285 days, Premier cover) compared to other providers whilst they offered a decent level of coverage, albeit relatively high excess charges (100 GBP / 118 EUR). When I still lived in Germany upon my departure to Australia eight years ago, I was insured via STA Travel via Hanse Merkur and I found this a very commendable policy – in Australia I had quite a bit more medical expenses than in Canada and customer service as well as refund payments were both outstanding. Read the fine print and make sure the insurance covers employment as well as all activities you plan to do.
Finding flights to Canada
A really good site to look for flights is skyscanner.net. It makes sure to find the cheapest deals. It’s always a good idea to book a few months ahead for the cheapest deals. From London, WestJet flies very cheaply to all major cities in Canada (e.g. 165 GBP on 16th May – only 6 weeks from now – from London Gatwick to Toronto). I flew WestJet all the time and it was great. Food has to be paid extra but all in all, the cost is still way cheaper than with other airlines and the customer service is good. Passengers can download the WestJet app to their phones or tablets and laptops prior to departure and enjoy free in-flight entertainment.

What to pack
In contrast to Australia, packing for Canada can be tricky, especially if you stay all year. I arrived in summer with light clothing only and flew back to Germany in October to visit family and to grab my winter stuff. Another idea is to either buy seasonal clothing in Canada or to have a box pre-packed and shipped over. It’s not very handy to travel with two suitcases, unless you plan to find a house and work straight away and travel in between or later. I have always travelled with my large backpack and a small backpack I wear in the front. Clothing-wise, I would also keep in mind that you can buy everything you need in Canada, a lot of the shops are the same as in the UK, and every hostel has coin-operated washing machines and driers. I usually pack just like I would for a 2 week holiday and I won’t go into detail regarding the amount of clothes to pack, but I’ll just highlight the following, which are must-haves in my opinion:
- Earplugs: Especially if you plan to stay in hostels. I would recommend silicon earplugs (e.g. from Boots in the UK), they fit and let you sleep like a baby even if someone snores in the bed next to you. They’re also really handy on flights to block out annoying conversations of fellow travellers or crying babies.
- A torch or a head torch: If you’re camping or staying in hostels, it’s very handy to have a torch. A head torch is particularly handy when you’re camping. Also you wouldn’t switch on the light in a dormitory in the middle of the night if you’re looking for something or packing for an early departure.
- Emergency medicine and first aid: That should go without saying but just in case.
- A small padlock: Most hostels have security lockers in the room for your valuables which can be used with a small padlock.
- Adapters: For your electrical devices. North America’s electrical sockets have a different shape from the ones in Europe or the UK. Also note that the electrical current is weaker in Canada. I brought my hairdryer from England and it was so weak than I ended up throwing it out because it was useless and only took up space in my luggage. On the other hand, one of my friend bought a laptop in Canada and it died when he plugged it in back in the UK because the electrical current was too strong. If you buy electrical appliances in Canada and bring them home, you should buy a converter before you hook them up to the plug back home.
- Hiking boots: If you plan to be outdoors, get some decent hiking boots and consider not buying the cheapest ones. Mine are from Mammut; they cost me around 150 EUR and they are fantastic, I have had them for 8 years now and they’ve been with me in Australia, New Zealand, Cuba and many other places. In Canada they were very handy also in the snow. They’re Gore-Tex, which really regulates the temperature – despite the fact that they’re made of leather and quite sturdy, I wore them in Australia in 40 degrees Celsius just as well as in Canada in -20. .
- Backpack: The same as for the hiking boots, I can highly recommend getting a decent backpack (unless you want to take a suitcase – I find a backpack a lot handier, especially if you’re planning to move around). My backpack is from Takonka and again, it’s been with me just as long as the hiking boots! It’s a 60-litre backpack which can extend to 70 litres and it weights around 20 kgs when fully packed. Nowadays these backpacks cost around 200 EUR (170 GBP). For both backpacks and hiking boots, I really recommend going to an outdoor shop, getting a proper consultation and trying on different items to find the best match. I had a cheap backpack before and regretted it.
- Rain gear: I really recommend all-weather trekking trousers – they dry off faster than e.g. jeans and are much more comfortable on a hike. I have some from Kathmandu where you can zip off the legs which I found very handy; they cost around 70 GBP. I also have a waterproof jacket and waterproof trousers (both from SportsDirect, both under 20 GBP).
- Winter clothes: My recommendation is: Layer up! The best thing when travelling or being outside is to have lots of layers. I can recommend thermals (which I got cheaply from SportsDirect, top and bottom both for under 15 GBP as well as my Ski suit (99 GBP)). I also had a warm fleece cardigan and a thick, down jacket, of course hat and gloves – even in summer. If you’re camping, it’s essential to keep the extremities warm.
- Important documents: Don’t forget your bank and credit cards, passport, driving license, proof of work permit and travel insurance confirmation. You can buy pretty much anything in Canada so that’s the most important bit. I also made copies of my passport just in case I lose it and wrote down the most important numbers (passport, driving license, bank cards and emergency phone numbers, travel insurance emergency contact etc.).


Travel planning and finding first accommodation
I’m a big fan of just going with the flow. When I got to Canada, all I knew was that I had a hostel booked for three nights in Toronto and that I wanted to travel over summer rather than finding a job straight away. However, in hindsight I have to say, depending on when you get there and where you are, that might not be the best idea. In Australia going with the flow wasn’t an issue however in Canada, I think it is worth planning a little further in advance (approx. 10 days), as in peak season, especially in places like Vancouver, Toronto or during the Stampede in Calgary, hostels tend to book out and you might end up stranded (I’ve seen people in Toronto and Vancouver having to stay in either expensive or crappy hotels because there wasn’t a hostel bed to be had in the entire city. In Vancouver, my friends and I literally thought at some point that we have to sleep on the beach).
Generally staying in a hostel while you are getting set up for work or travel is a good idea. There are lots of other travellers and it’s easy to find travel buddies or people to hang out with and to share experiences or get information. I have found the following hostels the most commendable to stay in the major cities:
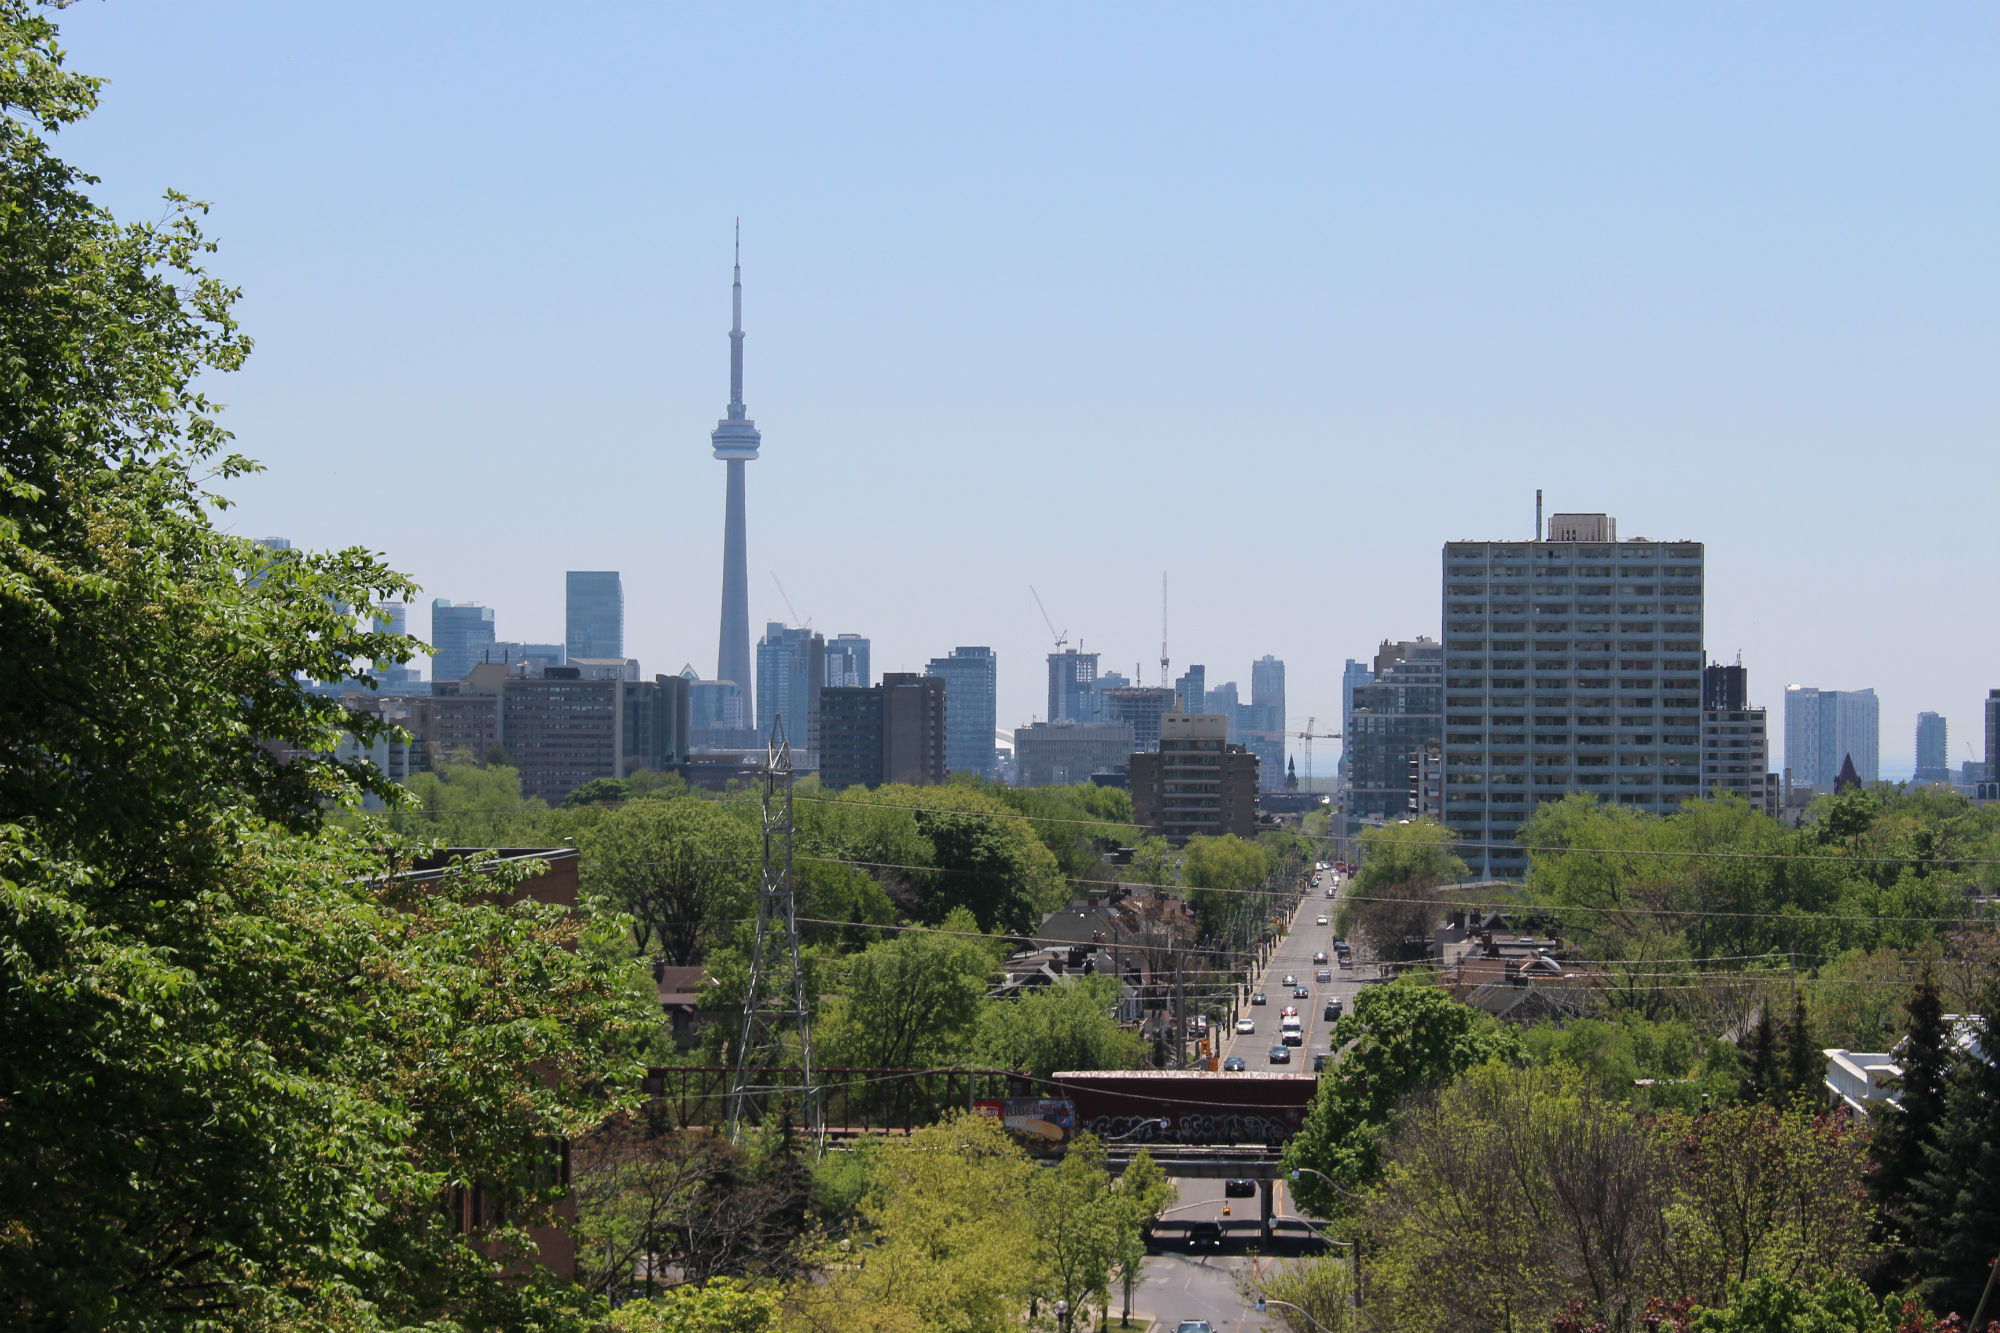
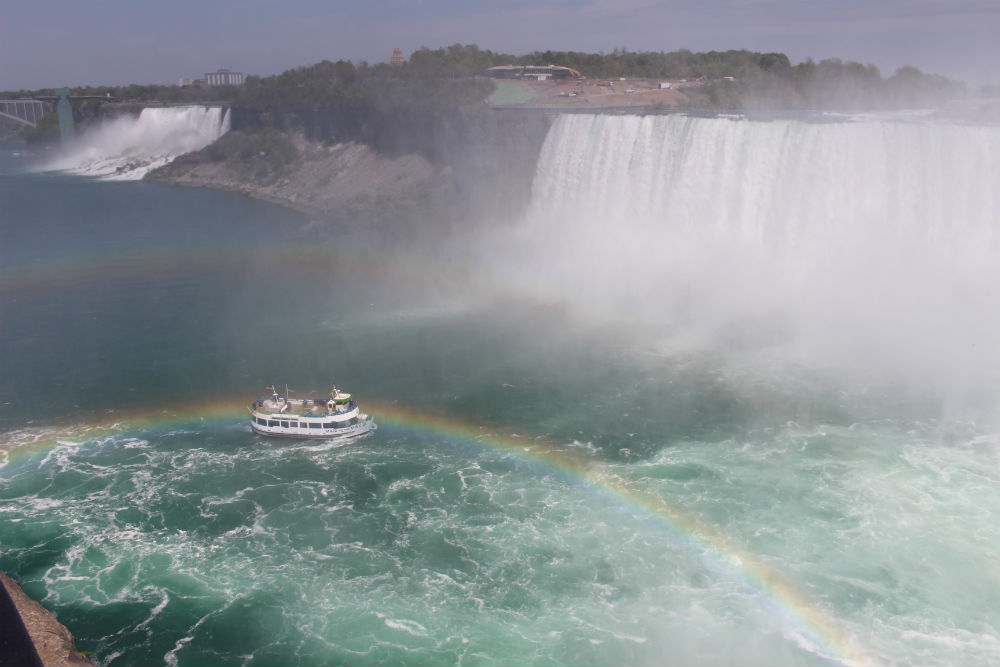
- Toronto: HI Toronto hostel: Clean, tidy, spacious enough, with its own bar in the basement. Lots of activities are arranged through the hostel such as pub crawls, tours to Niagara Falls etc. The hostel also offers cheap bike rental.
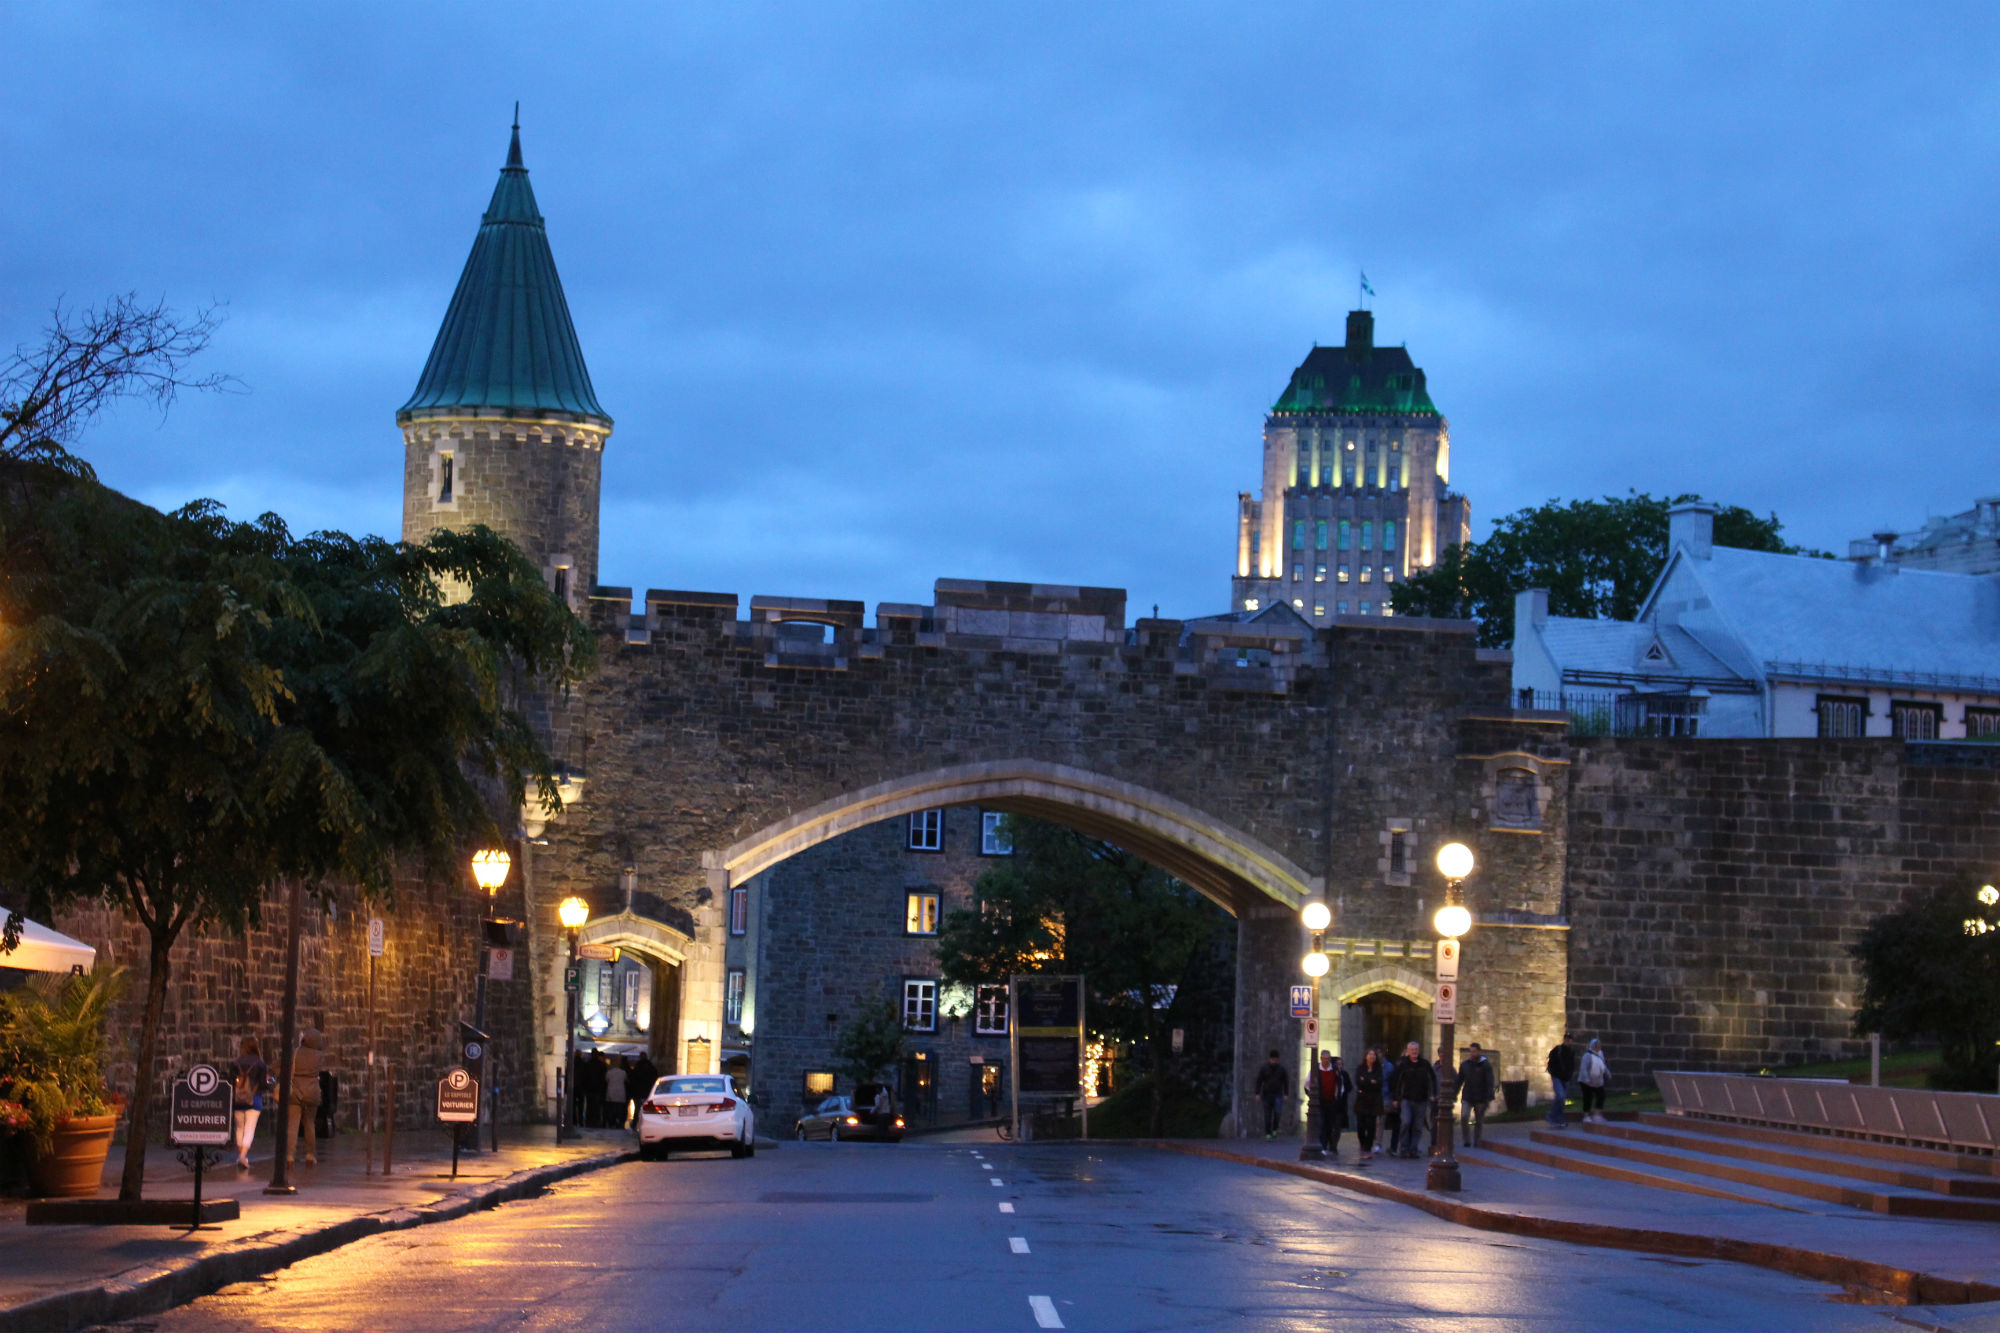
- Montreal: Auberge Alternative du Vieux-Montréal: Nice, chilled-out, slightly alternative hostel with a friendly crowd and colourful rooms, situated in the beautiful old town. If you want more socialising I can recommend Gite du Plateau Montreal.
- Quebec City: Auberge Internationale de Quebec: Large, social hostel with plenty of common space and its own bar, arranging a lot of activities.
- Calgary: Wicked Hostel, Calgary: A small, but very social hostel. Great to meet people and also arranging a night out pretty much every night of the week from chicken wings night to club nights. The only downsides are that the hostel’s common space is a bit too constraint in my opinion and there are no lockers in the room but you can leave your valuables at the reception. Otherwise, the HI Calgary City Centre is a great alternative, albeit less social and hence harder to meet people but with more common space, hammocks in the garden and free bike rental.
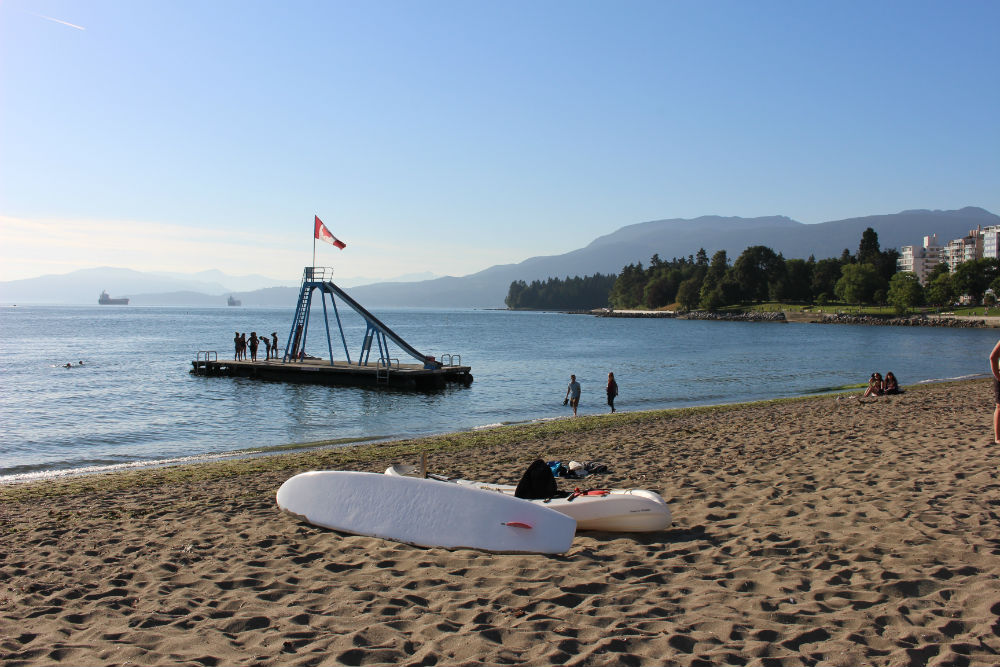
- Vancouver: Samesun Backpackers is great for meeting people. It’s a big hostel with its own bar, rooms are of a decent size and so are the common areas. If you prefer it a bit more quiet, e.g. to look for work and get stuff done rather than get drunk, the HI Downtown Vancouver is a great alternative. It’s got a lot of common space and a rooftop terrace!
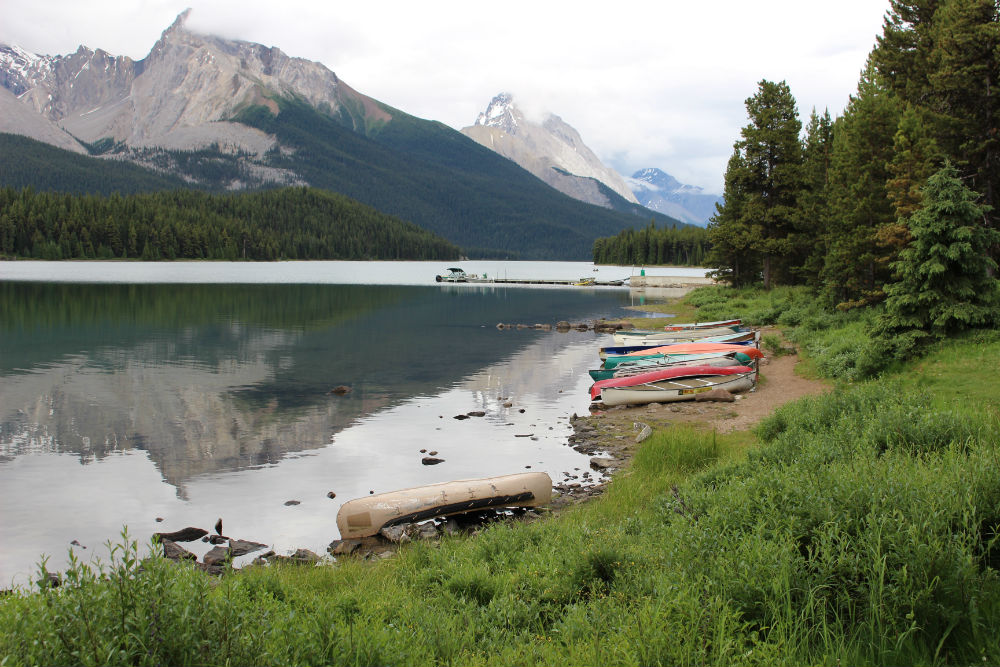
When it comes to travel planning overall, I recommend to travel as much as you can during the summer months (May through to August). It is simply amazing and much easier than during the winter. I travelled from May to end of September and really, it was the travelling that made my time in Canada, as well as being able to enjoy the beaches in Vancouver in summer without having to work. That way I was also able to see most of Canada and then decide where I wanted to stay longer and find work (in my case, Vancouver).
More information such as getting around, finding a flat, finding a job can be found in my next post, A working holiday in Canada. Stay tuned 🙂